|
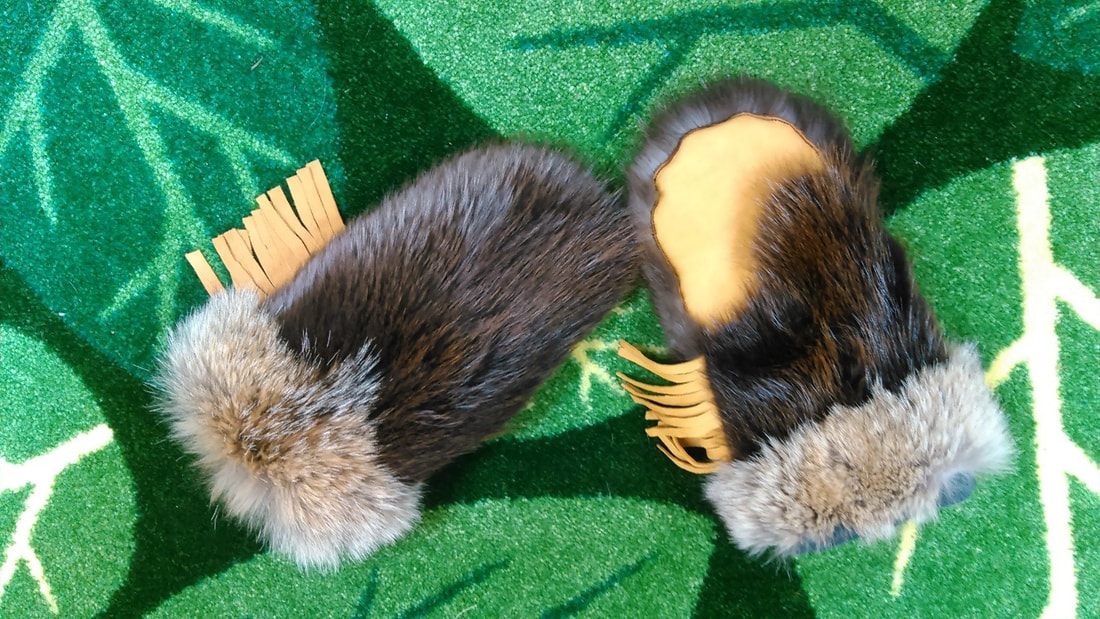
Copper River Record December 2019 By Robin Mayo For the past month, Prince William Sound College students have been learning the traditional art of fur sewing, and making their own trapper hats, mittens, and parka ruffs. In Glennallen, ten students met every Thursday evening for concentrated sessions of learning to customize patterns, cut fur, and patiently assemble their creations. In between classes, they spent countless hours sewing. In Valdez, a class of four met for a marathon weekend, nearly completing their projects in two long days of companionable work in pleasant company. Last January, 19 students in Glennallen and Kenny Lake also went through the course and made an amazing array of useful garments. In the grand scheme of human existence, the modern textile arts that we take for granted are a relatively new thing, with a few thousand years of spinning, knitting, weaving and felting to make fabrics. Every item required countless hours of highly skilled work. The inexpensive mass-produced garments that we so take for granted today have only been around since the industrial revolution. Before all that, harvesting, tanning, and sewing garments out of animal pelts was the only option for making clothing to keep us warm and protected from the elements. I like to remind my fur sewing students that no matter where their ancestors lived, some time long ago, or not so long ago, someone was an expert at creating clothing out of fur and leather. Learning to sew fur can be a daunting task, but remembering that it is in our DNA somewhere can help us trust ourselves to take the plunge. Fur sewing is always an act of transformation, steeped in tradition and made sacred by the fact that lives were ended prematurely to make it possible. Beginning fur sewers who are experienced seamstresses and quilters sometimes find it challenging, because the process, rules, and possibilities are so different. Some of the students have barely sewed a stitch in their lives, and although they have to work hard to learn to manage needle and thread, in some ways their path is the easier one. The pelt of an animal is at once a very challenging, and also very forgiving medium. The direction, length, and colors of the fur need to be considered carefully to transform an animal-shaped pelt into a garment. The slightest error can look terrible, but there are also possibilities for carefully piecing together furs to get the shapes and look you want. Carefully planned seams become invisible if the fur matches. And a wrong cut can always be re-stitched so that only the most careful observer will be able to tell what happened. Modern fur sewers have the option of incorporating non-traditional materials such as nylon, polarfleece, and synthetic insulations. And of course we are incredibly grateful that our process does not start with tanning hides, making bone needles, and painstakingly preparing sinew thread. One of the Valdez students made overmitts out of home raised and tanned rabbit skins with beautiful results but countless hours of dedicated work. Several of the students up-cycled garments from the thrift store or their own closets for their projects. I’ve been offered quite a few fur coats to recycle but have always found the skin is too brittle or the fur not attractive enough to make it worthwhile. But we used wool shirts, suit coats, and even a Carhartt jacket for the shells of hats, and cut up quilted or polarfleece clothing for insulating liners. Who knows, maybe a day is coming when we won’t be able to purchase clothing cheaply at stores, and will need to turn more to self-reliant skills like fur sewing. I’m proud of these students and hope they will continue to carry on the tradition, and share it with young people. If you are interested in joining a fur sewing class, Prince William Sound College in Glennallen is keeping a list of prospective students for the next class. You can call 822-3673 to add your name. Felicia Riedel made these mittens of beaver, coyote, and deer leather.
0 Comments
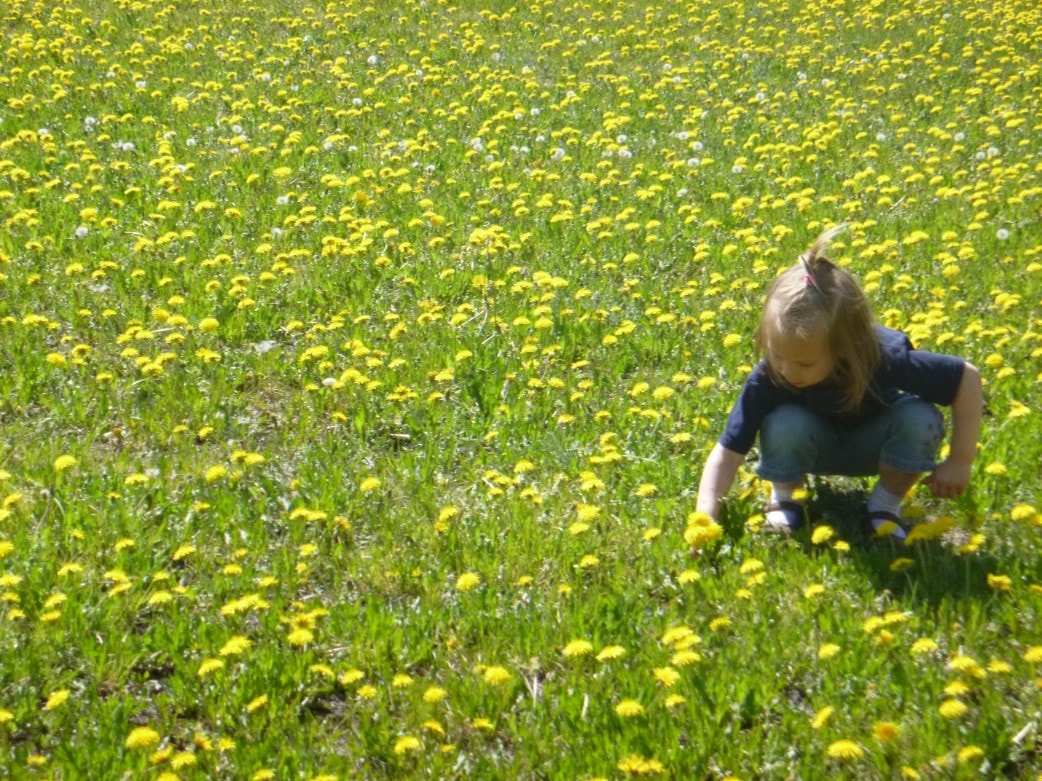
Copper River Record September 2017 By Robin Mayo The weekend brought me an abundance of berries and garden produce, and the urge to try some new ways of preserving the bounty. Browsing through the “Copper Country Collection,” Kenny Lake PTO’s excellent cookbook, brought many smiles and good memories. The names accompanying the recipes are a wonderful list of past and present “Who’s Who in the Copper Valley.” Some of these cooks are still here, some have moved away, and some have passed away, but their memories live on through these great recipes. The tiny section near the back titled “Kids’ Corner” caught my interest. Although the recipes did not help me out with the abundance of cabbage, turnips, and blueberries currently overflowing my fridge, they are some of my favorites in the book. How to Preserve Children by Jan Carlson, Mother of 7 1 lg. grassy field 2 or 3 dogs ½ dozen children A pinch of brook Small pebbles Mix children and dogs together well; pour them in the field, stirring constantly. Pour the brook over the pebbles, sprinkle fields with flowers. Spread over all a deep blue sky and bake in hot sun. When thoroughly warmed, remove and set to cool in a bath tub. Hug and kiss a lot. Bubble Recipe by Jan Carlson 2 c. Joy dishwashing detergent 6 c. water ¾ c. white Karo corn syrup Combine and shake. Let settle 4 hours. Store, covered, in refrigerator to extend suds shelf life. Allow to warm before using. Homemade Play Dough by Jan Carlson Mix in medium saucepan: 1 c. flour ¼ c. salt 2T Cream of Tartar Combine and add to saucepan: 1 c. water 2 tsp vegetable food coloring 1 T vegetable oil Cook over medium heat and stir (about 3 to 5 minutes.) It will look like a globby mess and you will be sure it is not turning out…but it will. When it forms a ball in the center of the pot, turn out and knead on a lightly floured surface. Store in airtight container. Note: Recipe may be doubled Play Clay by Felicia Riedel 2 c. baking soda 1 c. cornstartch 1 ¼ c. cold water Food coloring (Optional) For colored clay, add food coloring to water so it totals 1 ¼ cups. Use a few drops to 2 teaspoons. Cook over medium heat, stirring constantly. When it feels like moist mashed potatoes, turn onto a plate and cover with a damp towel. When cool enough to handle, start shaping. Can be used for paper weights, fridge magnets, “fossils,” or with cookie cutters and molds. The Copper Country collection was first printed in 2000, and is still available from Kenny Lake School PTO. What an incredible gift to the community! A young hike participant at Copper Center School Trail. WISE photo
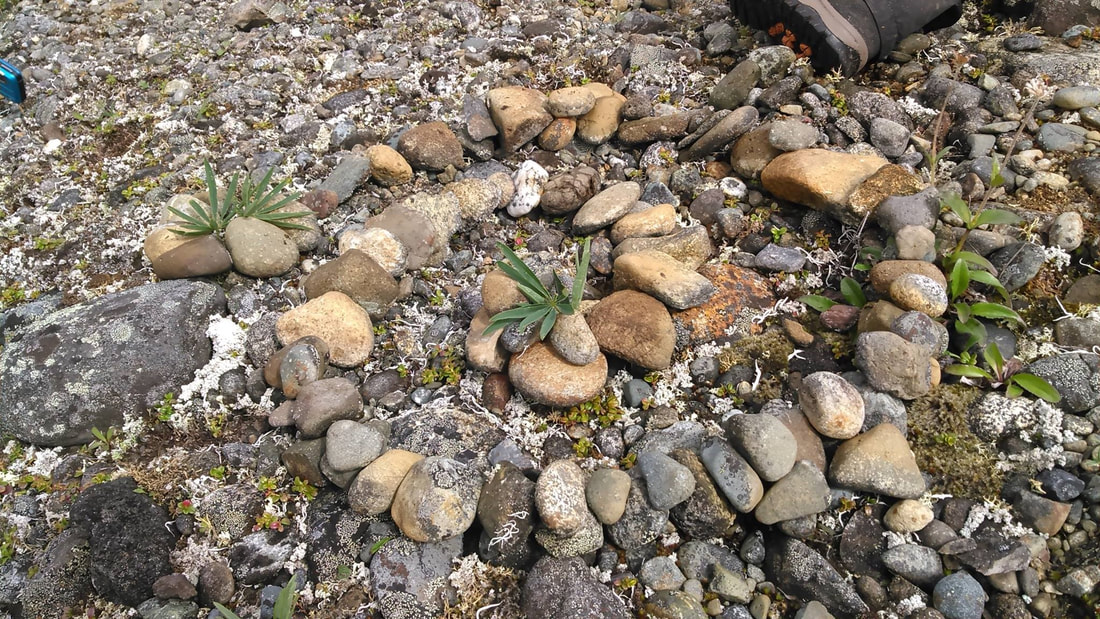
Copper River Record June 2017 By Robin Mayo Now that summer has finally arrived, there is so much for kids of all ages to do and learn outdoors. Research has shown that time outdoors is essential to all of us, for our mental and physical health. A family walk can combine exercise, together time, and hands-on learning. Weather exploring one of our local trails, public lands, or your own backyard, here are some ideas for your next outing. Adopt a Tree Choose an individual tree to identify and get to know. With just seven kinds of indigenous trees in the Copper Basin (White Spruce, Black Spruce, Balsam Poplar, Quaking Aspen, Birch, Alder, and several species of Willow,) learning to identify them is not hard. A handy online guide can be found at http://www.alaska.org/expert-advice/trees. Kids love to give trees silly names, inspect bark and leaves with magnifying glasses, hug them, climb them, and return to watch their friend change with the seasons and the years. Forest Perfume Bring along small cups for each explorer to collect small bits of aromatic plants, creating their own distinctive forest perfume. Spruce needles, yarrow, and balsam poplar leaves are a good start. Crush the leaves or needles between your fingers to release the scent, then mix your favorite flavors in the cup. Egg Carton Collection Very young children like to sort their tiny forest finds into the cups of an egg carton. For readers, write descriptive words such as shiny, prickly, smelly, and fuzzy on small pieces of paper and put them in the egg cups, then challenge your explorer to find something for each description. Temporary Art Projects Collect and arrange natural objects into temporary art installations. Stones, leaves, flowers, cones, and other found natural objects can be rearranged where you find them. Draw in the dirt or sand with sticks, sculpt with mud. You can also paint with water on dry rocks, using a paintbrush or just your fingertips, enjoying how the masterpiece fades before your eyes. For a more permanent but still natural painting, use different colors of mud, berry juice, crushed leaves, and whatever else you can find. Take a picture of the creations, then scatter them, or leave behind to gently blend back into the landscape. Tiny Houses When my kids were small they would create tiny houses, towns, zoos, and gardens using what they found on the forest floor. At home, they would be elaborate masterpieces that were carefully tended all summer. Kids like to leave their mark on the world, and this is a non-destructive way to channel that energy when hiking or camping. And who knows, perhaps a lucky vole or spider will find shelter in the custom home. Group Poems At a rest stop, ask each member of the group to describe something they can see, hear, smell, or feel. Write down the phrases, then arrange into a poem to read back to the group later. Be safe and enjoy every moment of our sweet, short summer. The schedule of summer WISE activities is at www.wise-edu.org. Fifteen People Floating on the Water -Group Poem by WISE/BLM Aquatic Ecology Camp 2016- Silver Lake with silver water Warm Water Dark Clouds Tippy aluminum boat See the texture of the dirt on a boot Hear the rushing of the water Fish flashing and splashing Smell the old that lives within a life jacket Taste the saltiness And leftover flavors of a breakfast burrito Curious Grey Jays playing hide and seek Something Sparkling See and feel the calm water The emptiness of this place Sweet reflections whisper adventure A temporary art project which was created at a lunch stop with natural materials.
By Janelle Eklund
It was a sunny warm blue sky kinda day on June 5. The leaves had magically changed into their shiny dark green dress, the perfume of the plants wafted to the senses, a kaleidoscope of wildflowers dotted the landscape - the whole atmosphere shouting ‘IT’S SUMMER!’ Seventeen kids and ten adults gathered at the Copper Center School in anticipation of a short walk through the forest to learn a new water color painting technique. A splash of dandelions paved the way and seemed to carry the group as they crossed the field heading to the entrance of the forest trail. The entrance arbor looked like a tunnel welcoming curious souls to explore an enchanted land. Eager youngsters and adults funneled down the trail in a dancing clip ready to experience all that lay before them. Our destination was the campfire circle where a lesson was given on watercolor painting using an easy technique that was creative and enjoyable for any age. Everyone took a seat on one of the many benches that surrounded the fire circle. The instructor showed the group a beautiful water color painting of aspen in a kaleidoscope of colors and proceeded to tell us that we would be creating our own similar watercolor - no matter what age we were. I think the youngest there was one year old and the oldest - well - probably yours truly. The first two tools handed out were water color paper and a pen. The pen was to write your name on your paper. The next tool was pieces of masking tape that you were instructed to rip in half lengthwise and stick them, smooth sides together, on the artist paper from one side to the other. Once that was done a palette, small paint brush, toothbrush, and spray bottle of water was handed out. The instructor came around and put a dab of green in one of the indentations on the palette. You were to squirt three sprays of water on the paint and mix it with the paint brush. Then dab the toothbrush with the color and use your finger to flick it onto the art paper creating tiny dots. Next color was orange. Then came a deeper shade of orange, then red. After all the splashing of colors a straw was handed out to each person and brown paint added to the palette. A dot of brown paint was placed on the edge of the tape and then you got down real low and positioned the end of the straw next to the dab of paint. From the other end you blew. It was exciting to see the brown paint spread in a line magically forming branches. You could direct the 'branches' to go up or down as if they were broken. It took me awhile to get the hang of it and many of my branches were broken - hah! Once your branches were in place and the paint had dried the tape was taken off revealing trunks of aspen trees. Then you could take the paintbrush and make lines and dots representing tree knots. Bualah! You had a picture beautiful enough to frame. It was wonderful watching everyone make their creations. They all had the same colors and technique but their personalities reflected the unique inspiration of each one. I think I heard whisperings of using winter scenes for this same technique. I was glad I didn't miss out on this wonderful Art in the Forest day sponsored by WISE and Bureau of Land Management. From my light to yours- |
Who We AreWISEfriends are several writers connected with Wrangell Institute for Science and Environment, a nonprofit organization located in Alaska's Copper River Valley. Most of these articles originally appeared in our local newspaper, the Copper River Record. Archives
August 2021
Categories
All
|
|
WISE is a
501(c)3 nonprofit organization |
Contact Us |


 RSS Feed
